

Pacoima, CA · December 2024 · LADWP / LADBS
In Pacoima, rails first — the array is already decided.
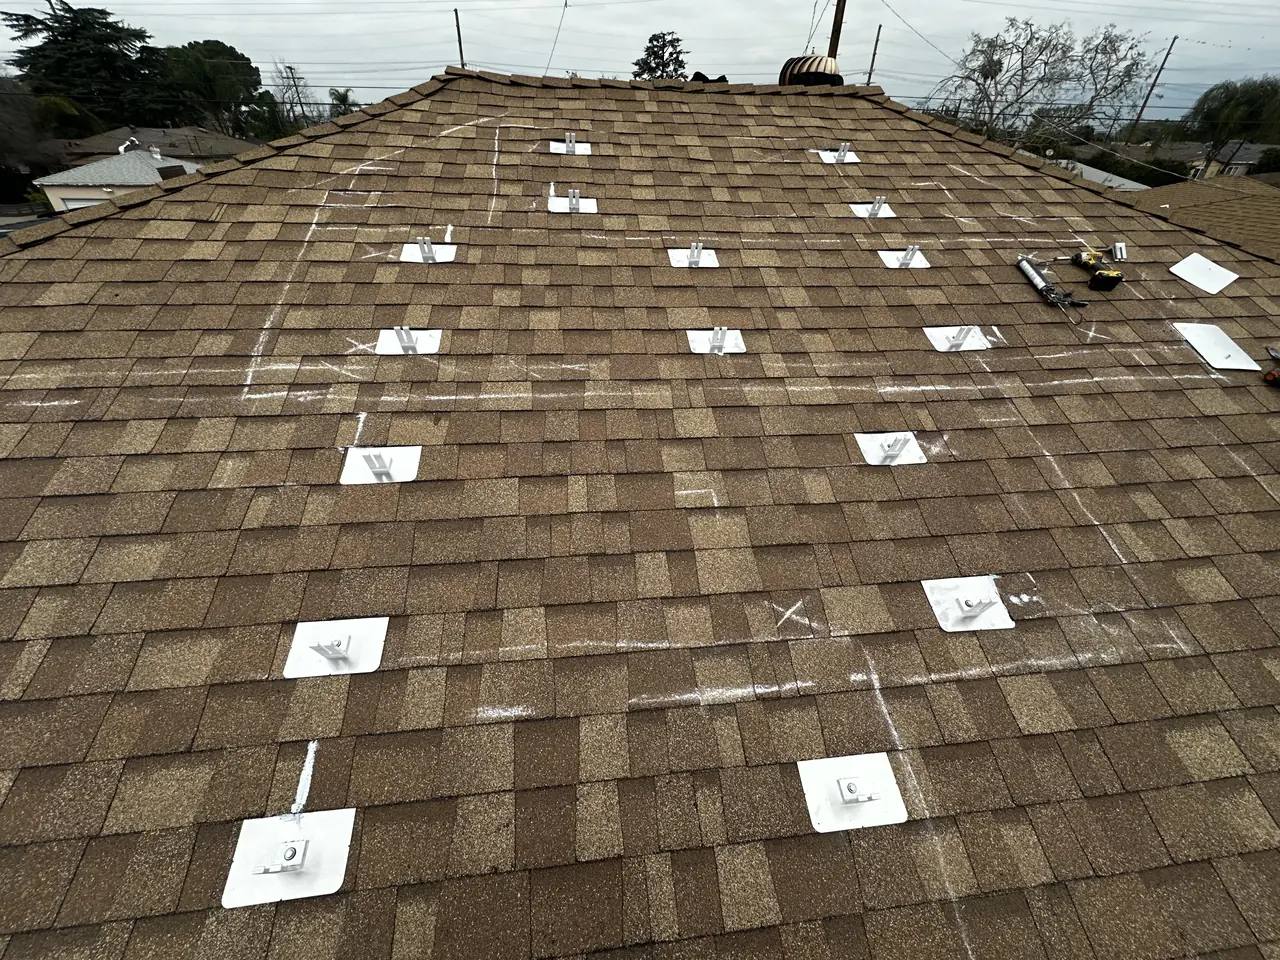
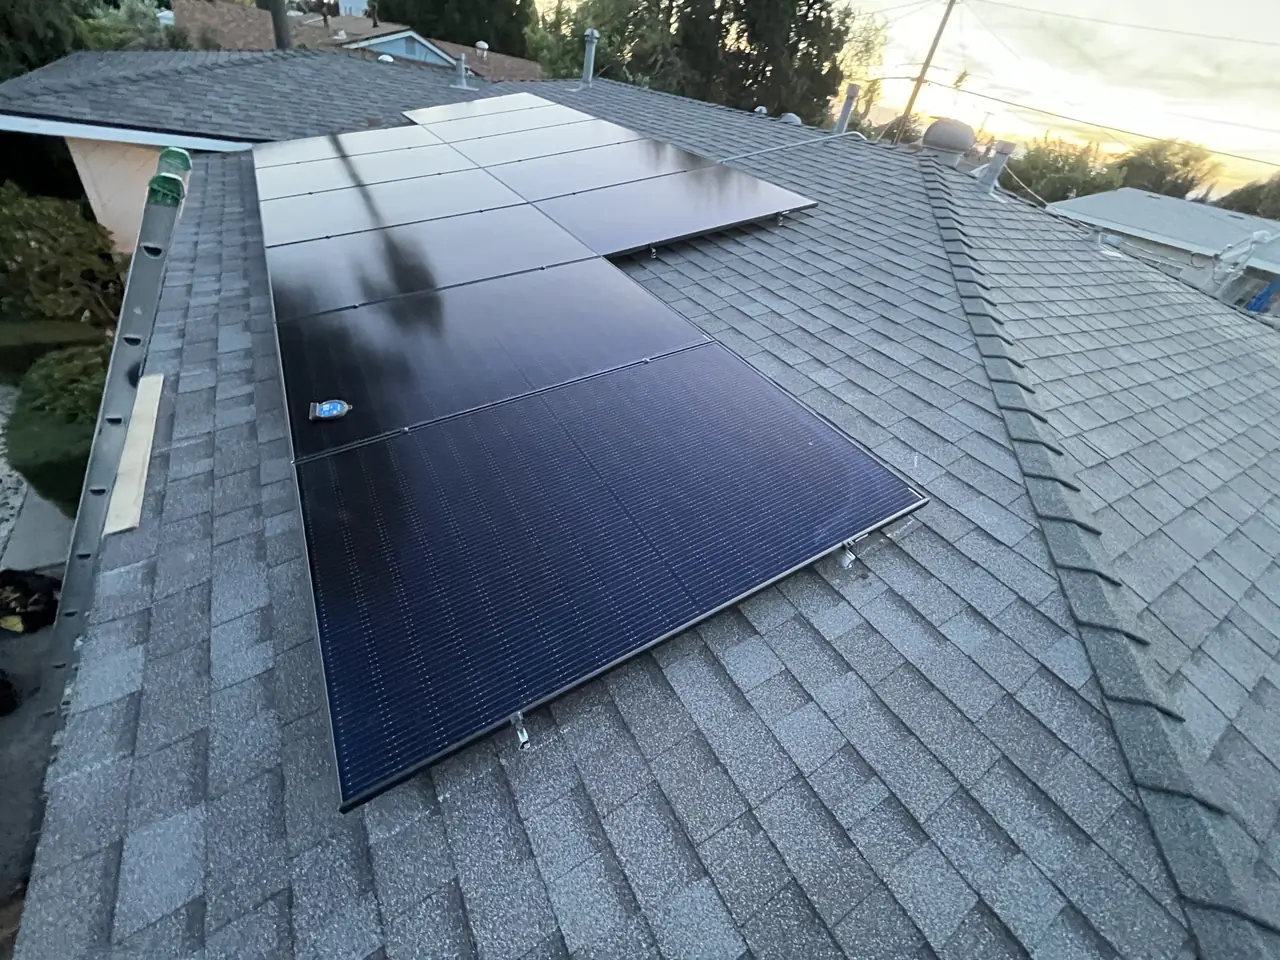
A Pacoima installation photographed at both stages, which is the clearest way to show why almost every decision is made before a module is carried up.
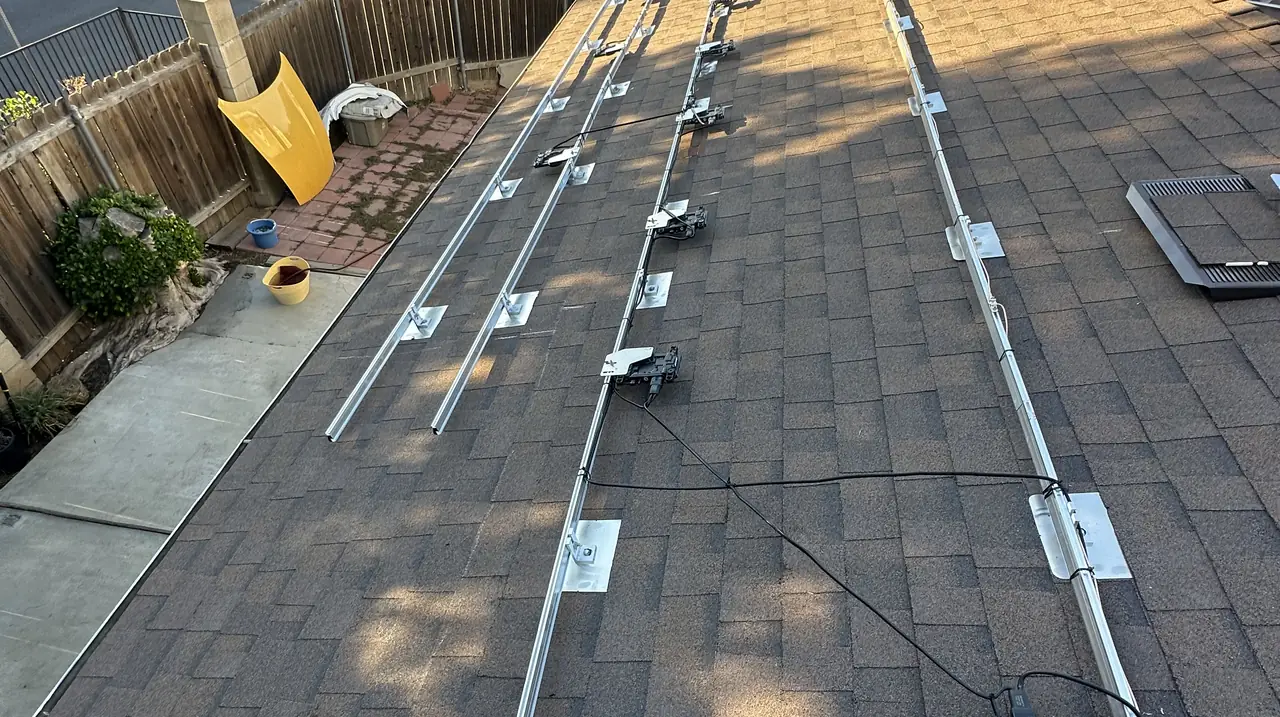
By the time the first module reaches the roof, the array is already fixed. The rails define where every module will sit, and the rails sit on attachments that have been placed into rafters at spacings the engineering requires, inside setbacks the fire code requires, clear of vents and the ridge. The modules are the last and fastest part. On this Pacoima roof Cali Energy photographed both stages on the same day, and the bare-rail picture is the one that shows the actual work.
At a glance
- Roof
- Composition shingle
- Installed
- December 2024
- Layout
- Rails set and checked before any module was carried up
- Attachments
- Into rafters, at engineered spacing
- Setbacks
- Ridge and edges kept clear for access
- Utility / AHJ
- LADWP / LADBS
The story
On this Pacoima roof the rails went down on bare shingle first and the modules followed the same day. Homeowners almost always see the finished array and almost never the rails, and the rails are where the job actually happens.
Start with what the rails are sitting on. Every Cali Energy attachment is placed into a rafter, not into the decking between rafters, at a spacing the engineering for that module and that wind exposure requires. Finding the rafters is the slow part of a shingle installation and the part that cannot be guessed at — an attachment into decking alone will hold a module on a still day and will not hold it in a wind event.
Then the geometry. The rails are set parallel and square, and their spacing is set by the module's clamping zones rather than by what looks even. A rail pair that is out of square by a small amount at one end is out by a large amount at the other, and every module after that fights it. Checking the rails before the modules go on is a few minutes; correcting a skewed run after they are clamped is most of an afternoon.
The array also has to leave room around itself. The ridge stays clear and the edges are held back, because the fire code requires access paths and clear space for a crew working on a burning roof. Those setbacks are not negotiable and they are the usual reason a roof that looks like it would take twenty modules takes sixteen.
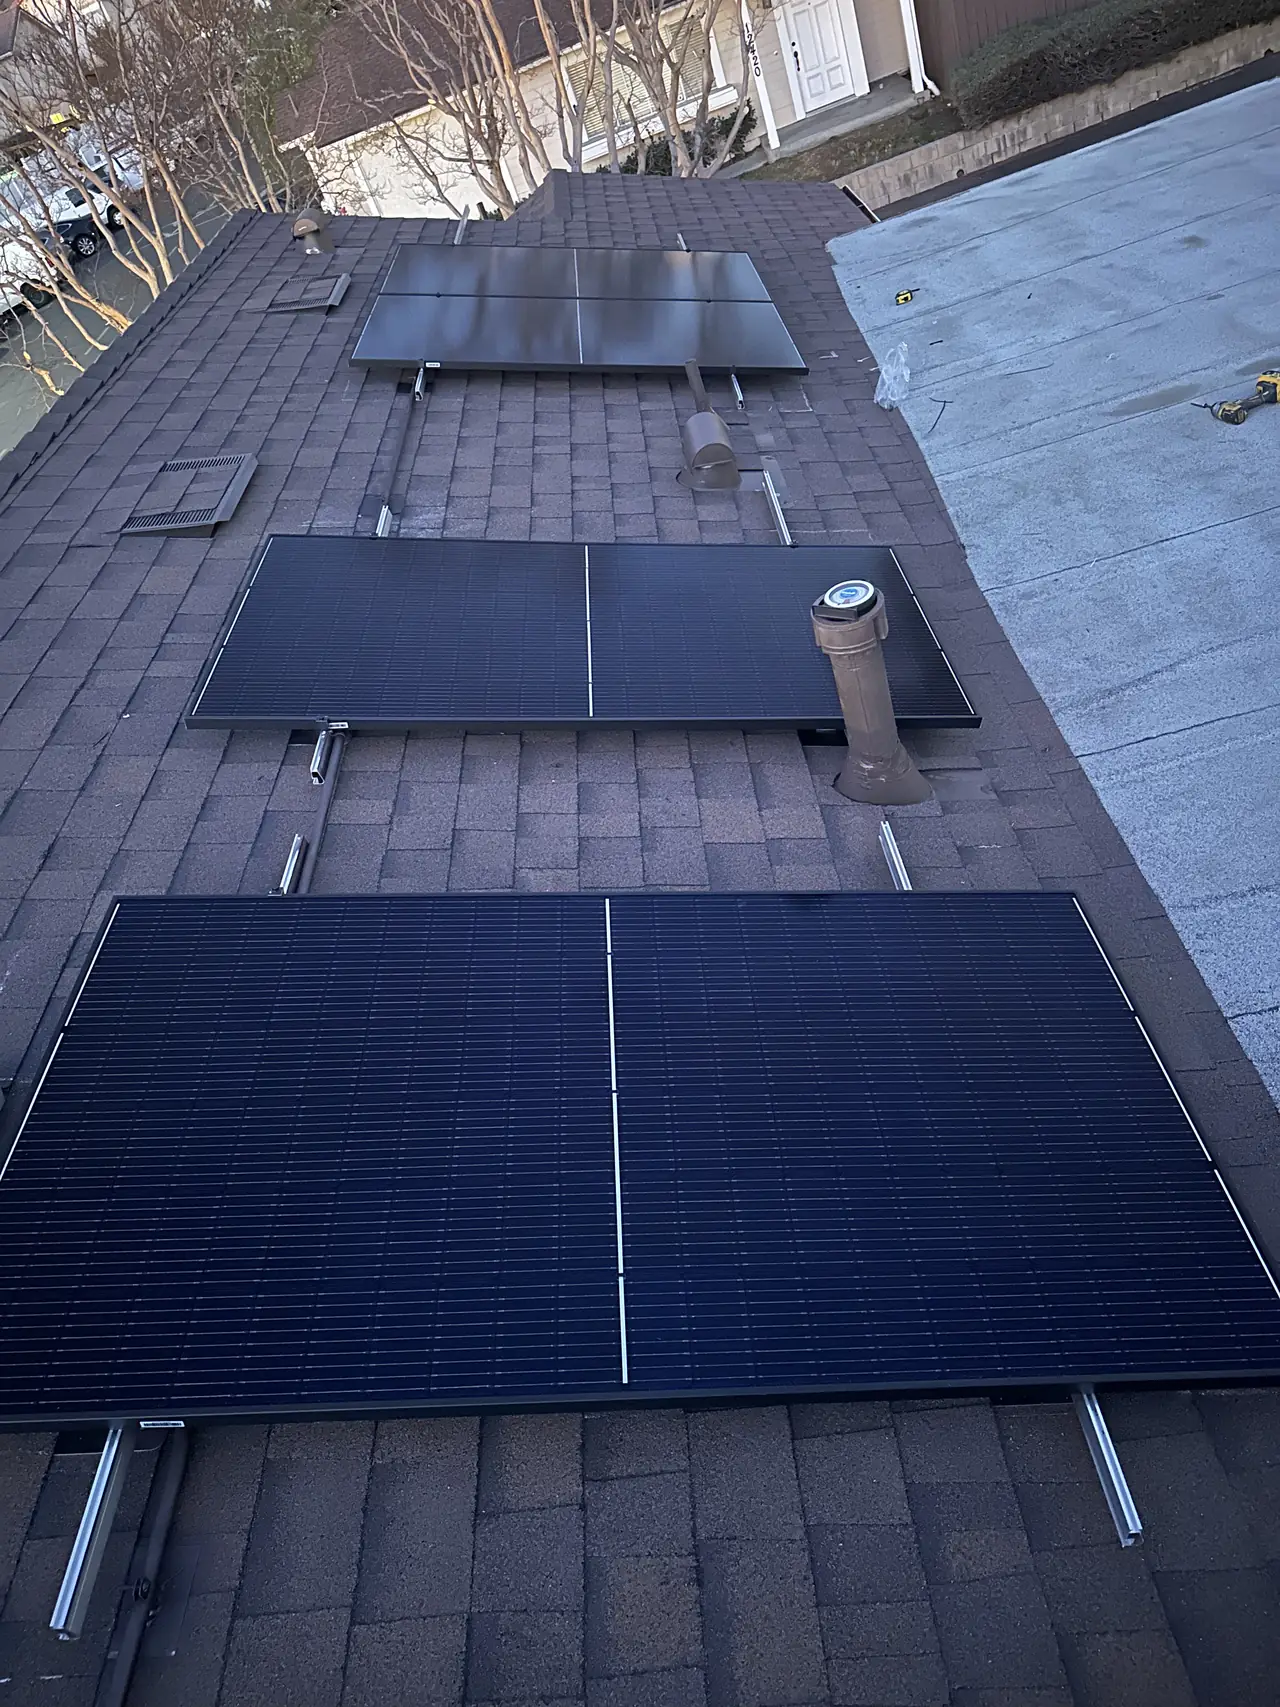
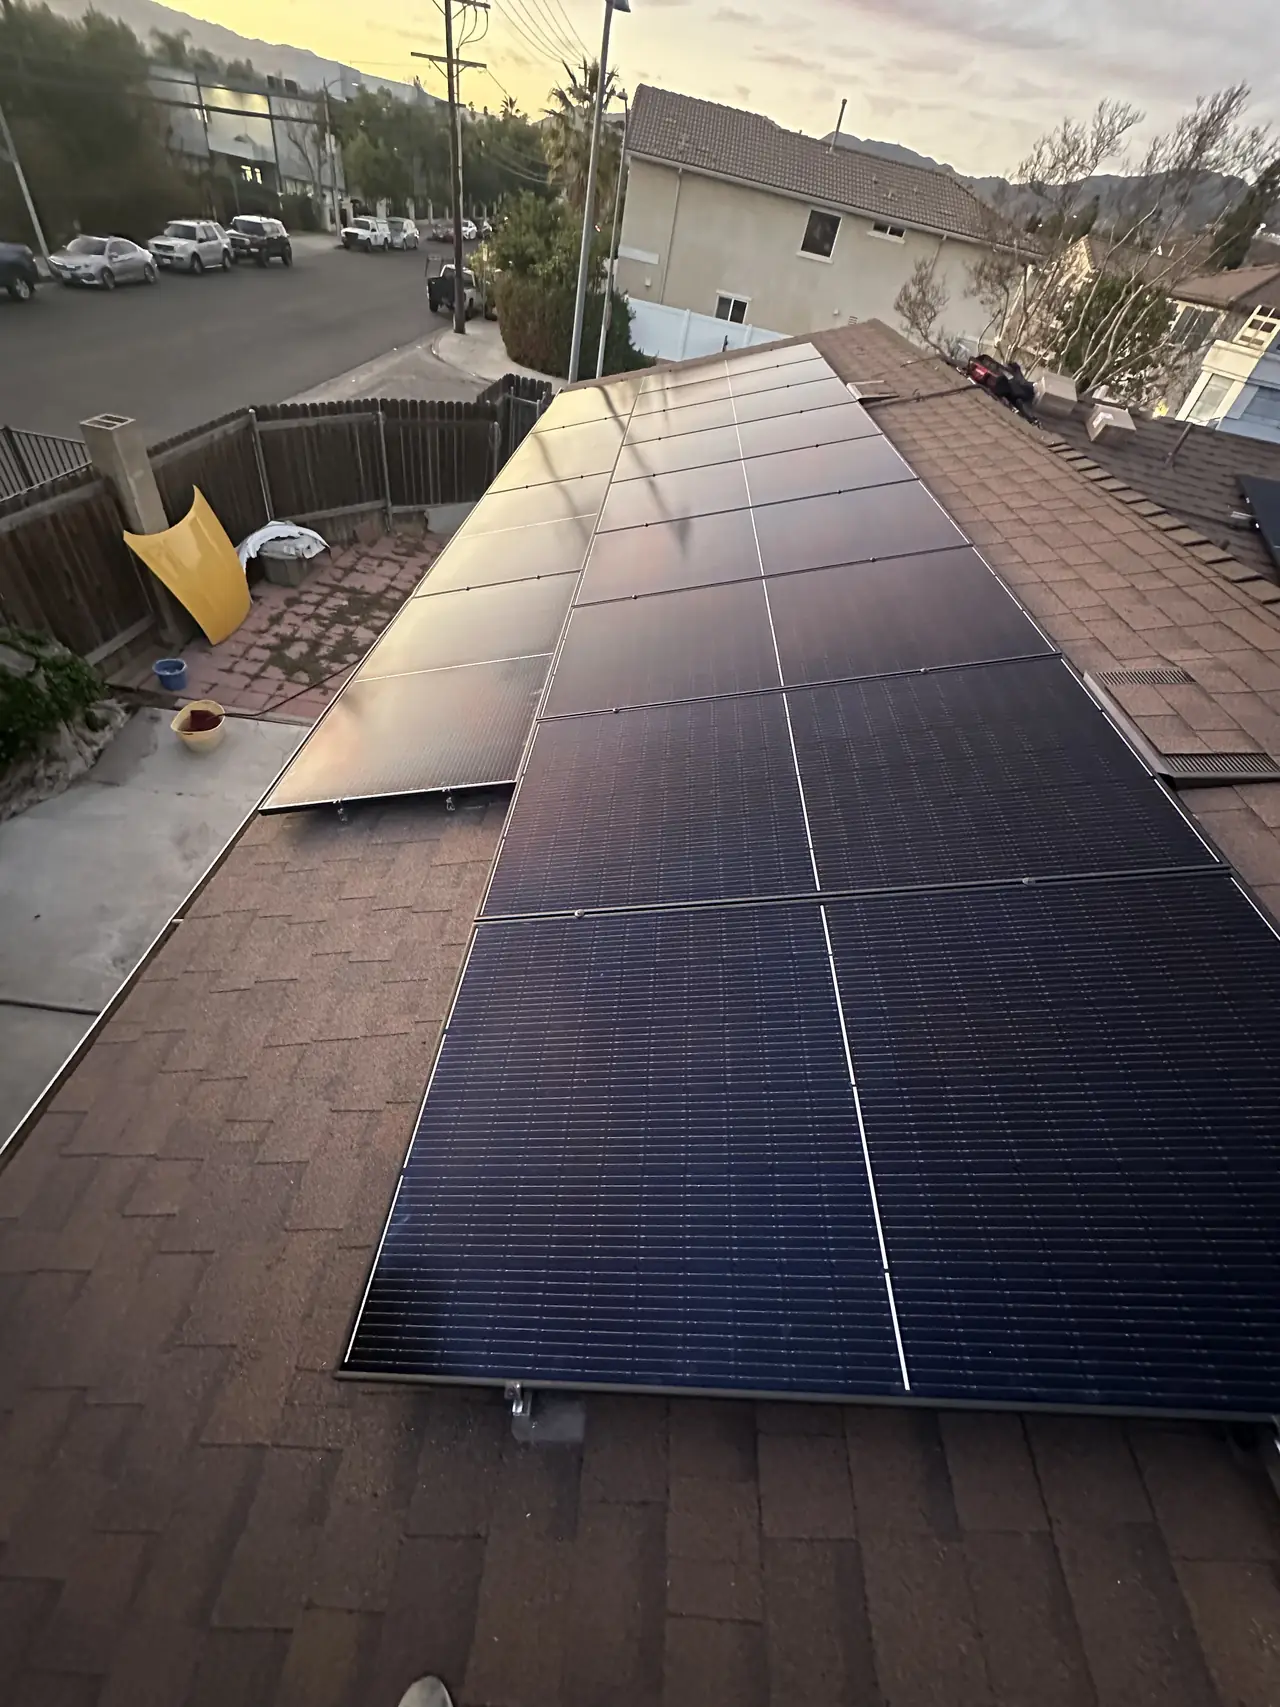
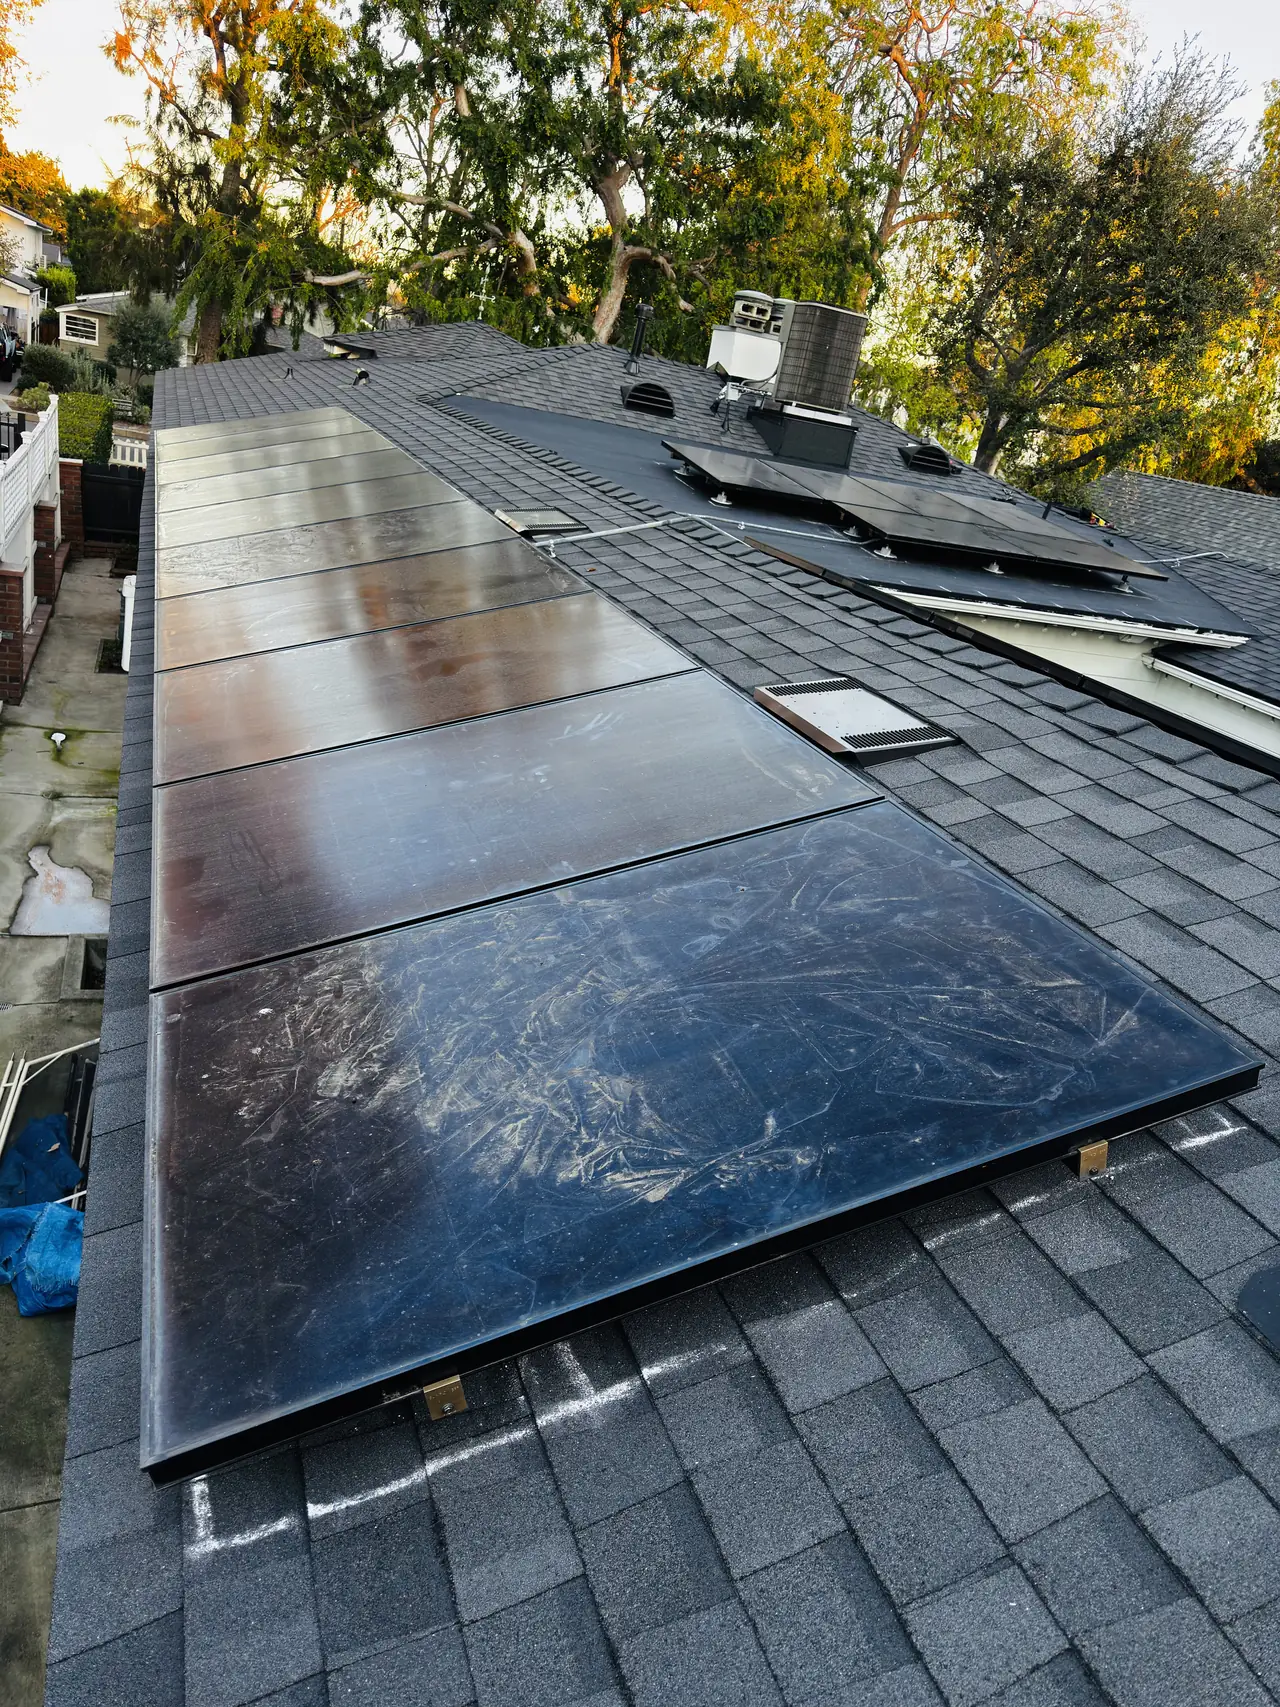
What is visible in the finished photograph is the result of all of that: three clean rows, a plumbing vent left where it was with the array laid out around it rather than the vent being moved, and a straight edge along the run. The modules themselves went on in a fraction of the time the rails took.
If you are watching your own installation and want to know whether it is going well, look at the roof before the modules arrive. Straight rails, attachments on rafter lines, flashing under the shingle course above each penetration, and clear space at the ridge. Everything after that is carrying and clamping.
What follows the install day is the same on every Pacoima project: the LADBS inspector signs off the installation, the utility completes its interconnection review and sets or re-inspects the meter, and permission to operate is issued. The rails decide whether the first of those three goes smoothly.
How it ran
| December 2024 | Rails set on bare shingle, checked and squared |
|---|---|
| December 2024 | Modules carried up and clamped, the same day |
| December 2024 – January 2025 | LADBS final inspection, then utility interconnection review and permission to operate |
Both installation stages on one day, with the rail work taking the larger share. This timeline reflects this property and this period.
What we did
- Located and marked rafters before setting any attachment (C-10).
- Set and squared the rails before a module was carried up.
- Flashed each penetration under the shingle course above it.
- Laid the array out around the existing plumbing vent rather than relocating it.
- Held the ridge and roof edges clear for fire access.
System specifications
| Roof | Composition shingle |
|---|---|
| Attachments | Into rafters at engineered spacing |
| Flashing | Plate under the shingle course above each penetration |
| Layout | Three rows, laid out around an existing plumbing vent |
| Setbacks | Ridge and edges kept clear per fire access requirements |
| Utility / AHJ | LADWP / LADBS |
Is your project like this one?
- You want to know what happens on your roof before the modules arrive.
- You are watching an installation and want to know what good looks like.
- Your roof has vents or a chimney in the middle of the best plane.
- You were told your roof would take more modules than the quote shows.
- You want to understand what the fire setbacks take away.
Cali Energy in Pacoima
Pacoima is a City of Los Angeles neighborhood in the northeast San Fernando Valley, which means the permit goes through LADBS and the interconnection through LADWP. The housing is mostly post-war single story on modest services, and the ZIP it shares with Arleta turns up in the paperwork more often than anyone expects.
This installation is on the Pacoima projects page alongside the others, and what the work covers is set out on the Pacoima service area page.
- License and classifications: CSLB #1032379
- Official reference for this process: LADBS — inspections
- Official reference for this process: California Building Standards Commission — California Building Standards Code
Frequently asked questions
What happens on the roof before the modules go on?
The work that decides everything. Rafters are located and marked, attachments are set into them at engineered spacing, each penetration is flashed under the shingle course above it, and the rails are set, squared and checked. Only then are the modules carried up and clamped, which is the fastest part of the day.
Why does my roof take fewer modules than it looks like it should?
Mostly fire setbacks. The code requires clear access paths and clear space at the ridge so a crew can work on the roof in a fire, and those areas cannot carry modules. Vents, chimneys and skylights take more. A plane that looks like twenty modules commonly takes sixteen once the setbacks are drawn on it.
Does Cali Energy install in Pacoima?
Yes. Cali Energy works across Pacoima on composition shingle and tile, setting attachments into rafters, flashing every penetration under the course above, and laying out arrays inside the fire access setbacks. Nine completed Pacoima projects are on our projects page. Our license is CSLB #1032379.
Can a vent or a pipe be moved to fit more modules?
Sometimes, but it is rarely worth it. Relocating a plumbing vent means opening the roof and the pipework below it, and it buys one or two modules. On this Pacoima roof the array was laid out around the vent instead, which is the normal and cheaper answer.
What this would look like on your roof
Planning solar in Pacoima? Tell us your utility, your roof and what your bill looks like now, and we will model what a system like this would do on your house before you commit to anything.
Or call +1 (323) 844-7777 · Cali Energy, Northridge · CSLB #1032379 (B, C-10, C-39) — design, permits, install and electrical under one licensed contractor.
Related
This timeline reflects this property and this permitting path. Updated September 2026.